RepRap Mondo – Part 4 – Extruder
- July 15th, 2011
- Write comment
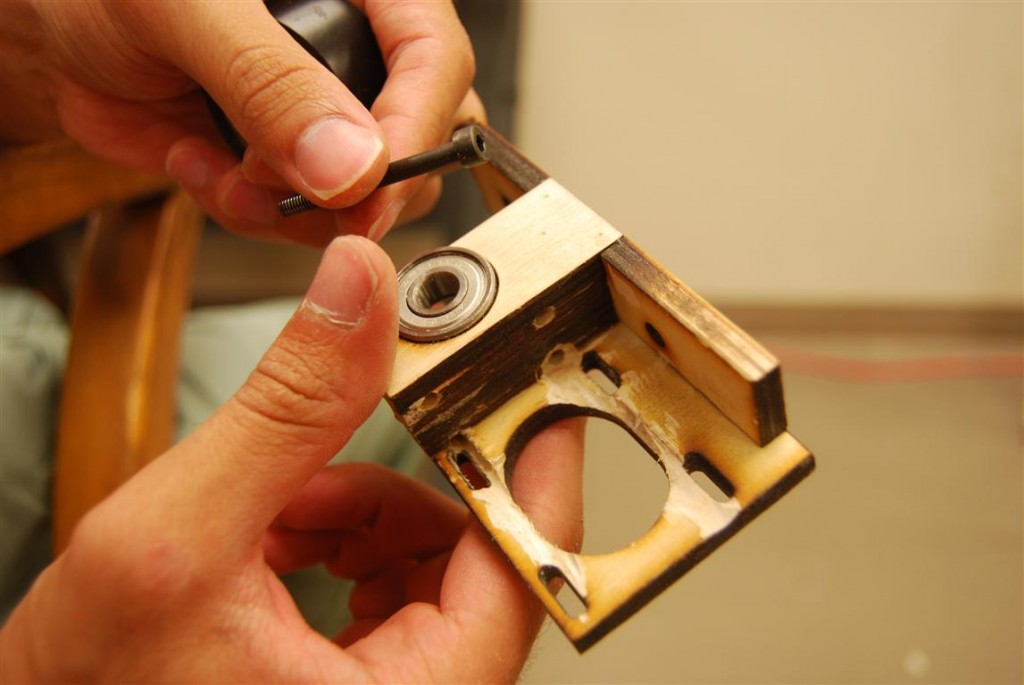
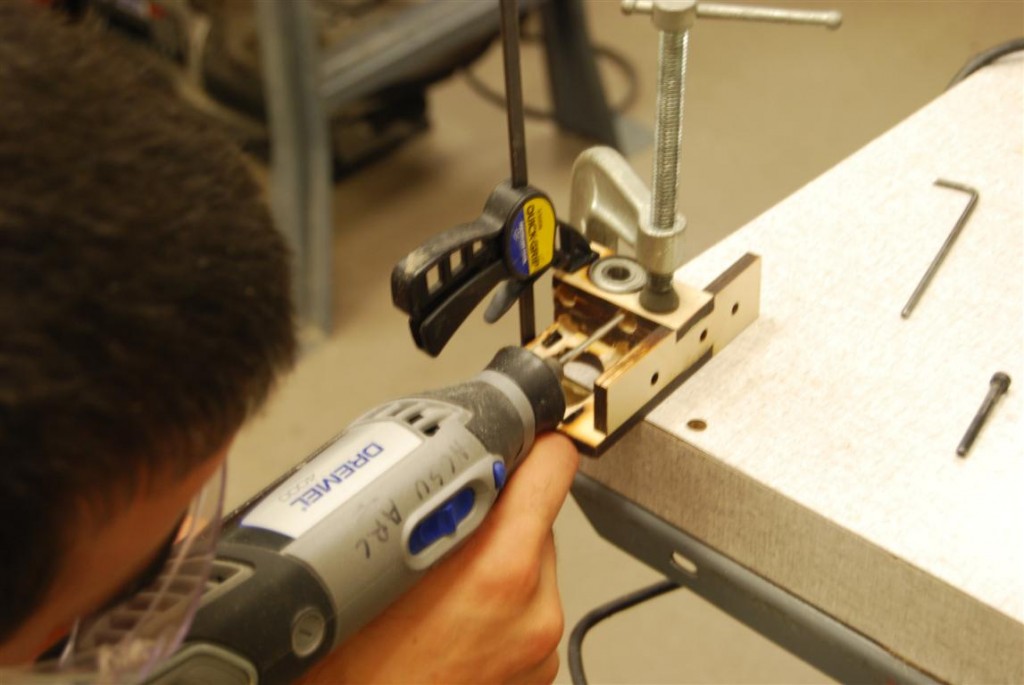
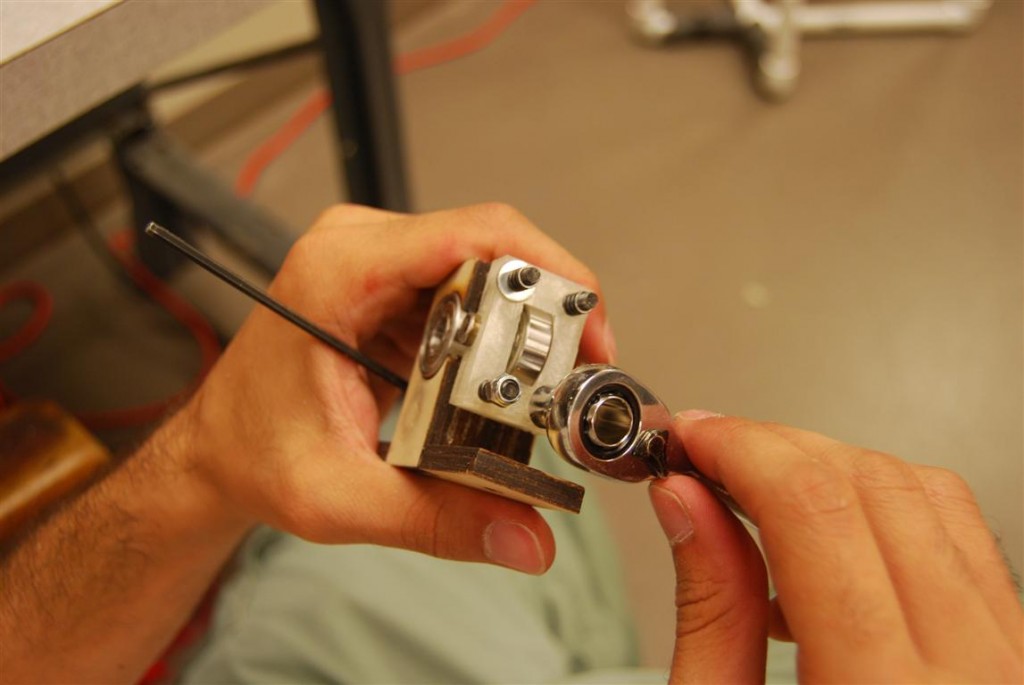
The extruder seemed like it would be an easy component to assemble thanks to good instructions on the reprap site. However, it quickly became evident that techzone’s laser cut version was going to be a much greater challenge. The first issue that arose was that the screws closest to the motor mount could not be inserted into the holes until we routed the channels as shown in the below image.
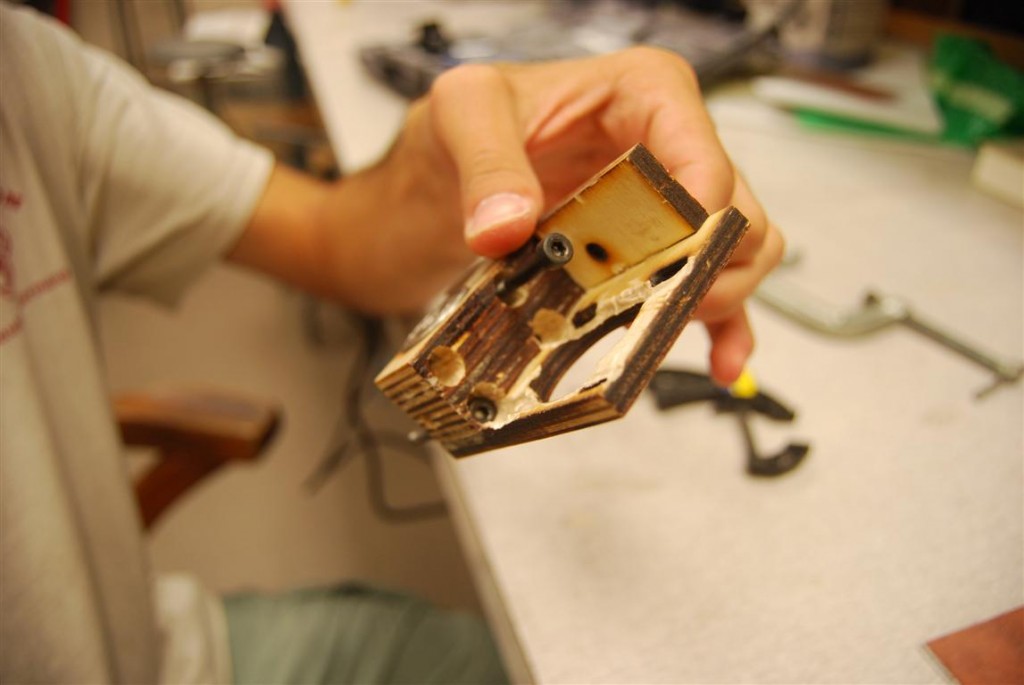
Further modifications were required because the screw heads could did not clear the motor. To fix this, extra material was routed out to make room for them. The challenge of this is quite evident below.
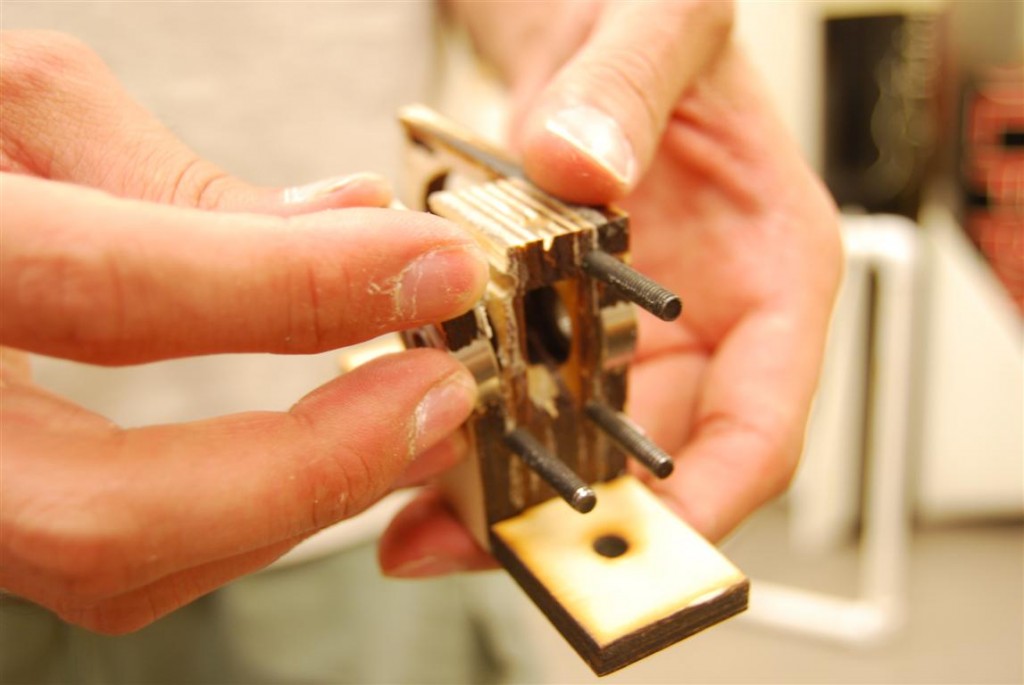
These holes would also need to be made deeper to allow the screws to stick out far enough for springs and nuts to be added on the other side.
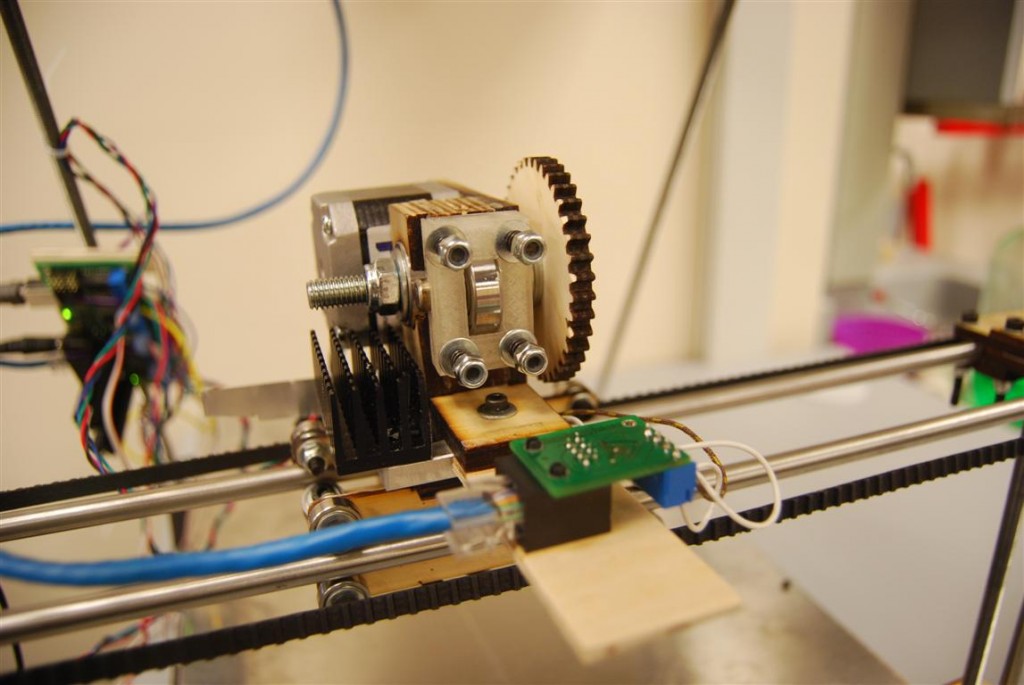
After much modification, we were finally able to get the assembly put together. Between the two top pictures you can see that the screw holes for mounting the extruder to the reprap are covered by the motor and spring assembly making it impossible to swap the extruder without a complete disassembly of the device.
The motor, gears, and extruder drive shaft were then assembled. One thing we learned later during tuning is that washers need to be added to the extruder drive shaft such that the gripping surface is aligned with the filament.
The tuning process was mostly concerned with the tension of the four springs. The problem was that the springs can only be adjusted with the motor removed. This necessitated the removal of the drive shaft as well because the large gear blocks access to the motor’s mounting screws.
